SNAP HAPPY
An amateur’s guide to photography
Through what we do for work, I have developed an interest in photography over the years. It started as iPhone photography, really around the same time that Instagram was gaining popularity. From there, I eventually moved to using a DSLR camera (AKA a ‘proper camera’).
This was a game changer for me. I was lucky enough to be working with a lot of creatives at the time who showed me the ropes – most notably, Beige Renegade and Coffee With Me. Since then, I have continued to take photos as a hobby but I have also found it is a helpful skill at a time when there is a need to create so much content.
At the moment, it seems a lot of us are taking the opportunity to slow down and revisit some of our old hobbies or discover new ones. I have found myself picking up the camera a little bit more again, so thought I’d share some of my tips to help get you started.
I am by no means a photographer, but these tips work for me. I have also enlisted some extra advice from writer and photographer Emma Pegrum who is one of my main inspirations. Emma’s work has been featured in a range of publications including Broadsheet, Australian Traveller and Fabric Quarterly.
I hope you enjoy the tips and get snapping!
THE CAMERA
Sarah: I bought myself a Canon EOS 700D, which I’ve had for years now. It is an entry-level camera but has been doing the trick for what I need.
Emma: I am a massive Fujifilm convert. I use a Fujifilm GFX 50R, which is a medium format mirrorless digital camera designed like an old rangefinder; very stylish but also, importantly, very enjoyable and satisfying to work with. I wouldn’t exactly call it a workhorse, but the colours it produces! Oh, the colours! And the feel of the shutter button! The camera lends itself to slow, composed photography. This suits me perfectly, but it might not suit a professional sports photographer, for example. For anyone looking to buy an entry-level camera, I recommend the Fujifilm X-Pro2 – these can be picked up second hand for a good price if you’re on the ball (Emma recommends Camera Electronic).
I also love using my little Canon AE-1 with Ilford HP5 film. This is a medium contrast black and white film with a fine grain that creates really honest and charactered documentary images. This combination is a great all-purpose, all-levels set up!
THE LENSES
Sarah: I have not invested a lot in my ‘kit’ and only take photos in natural light. The best thing I’ve bought is a 50mm prime lens (EF 50mm f/1.8), which only costs about $200. It allows for a low aperture (more on this to come), which creates lovely, soft images. Basically, I feel it helps to make me look more professional than I am.
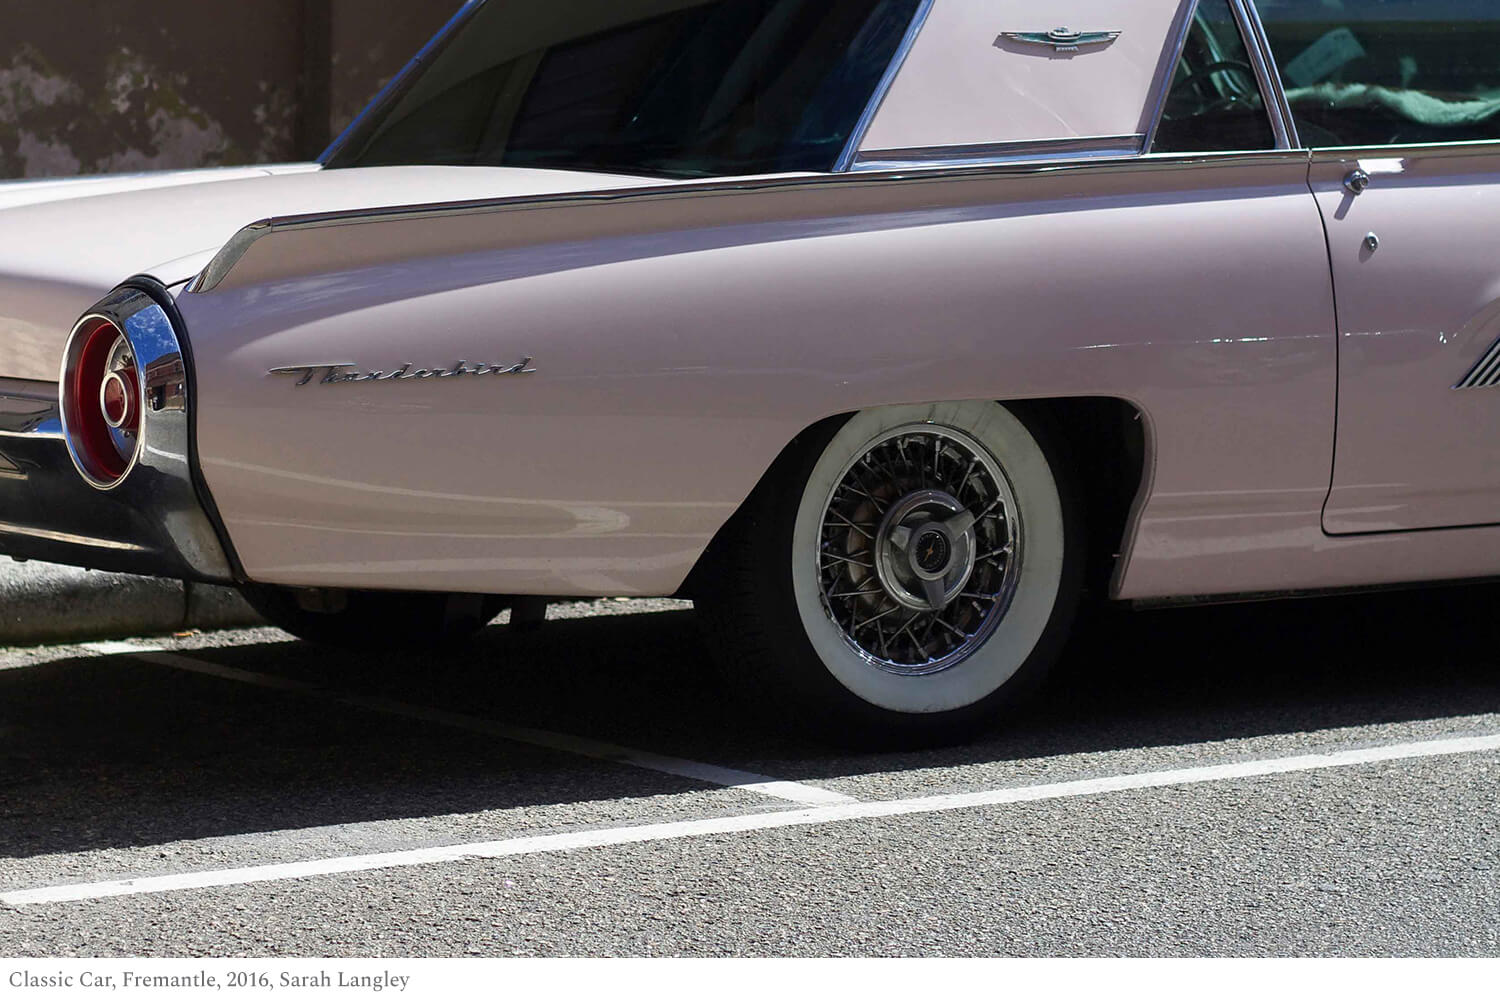
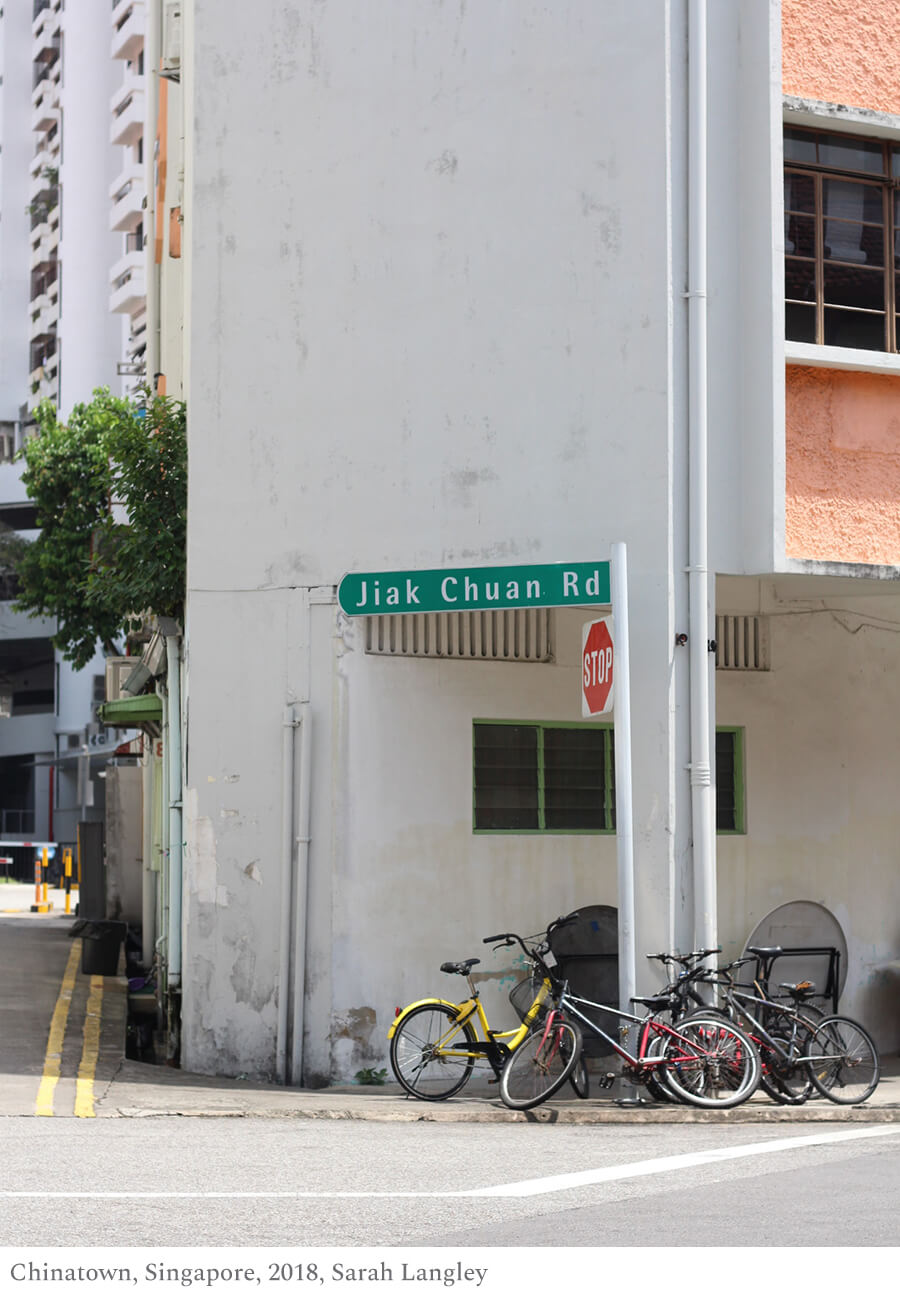
Because my camera isn’t ‘full frame’, it means that my prime lens sometimes makes objects look a lot closer than they really are – so I was finding when I was trying to photograph things like building facades (one of my favourite subjects) I wasn’t able to capture all of the details I wanted to include in the frame. I then bought a second lens for this purpose – EF-S 24mm f/2.8.
Emma: My lens kit is quite simple. While there are many instances that require more serious kits than mine, I don’t believe that more gear always equals better photos. I think a good kit consists of three key prime lenses: a standard 50mm equivalent, a slightly wider one (35mm equivalent), and a good portraiture lens (around an 85mm equivalent). The lens that spends most time on my camera is my GF63mm f/2.8, which on my medium format sensor is essentially a standard 50mm length. I like the kind of basic, utilitarian perspective it offers, and with the camera delivering such high resolution images, I can crop in post-production if a new vision appears.
THE SETTINGS
Sarah: I really enjoy shooting on the manual setting, as it allows me to experiment and learn more about how a camera works. For me, there are three key pillars:
ISO: the sensitivity to light. As a rough guide, if it’s bright where you’re shooting (direct sun), you set the ISO on a lower setting (say, 200) whereas if it’s lower light I’d go to about 800. Any higher than that and your photos will likely be a bit grainy.
Aperture: the amount of light you are letting in to the camera. If it’s an object that’s close to the lens and you want to blur the background, use a lower setting for your aperture, which will let more light in (the lowest my prime lens allows me to go is f/1.8). If you want more objects to be in focus, you want to increase the aperture (i.e. let less light in).
Shutter speed: this one is as it sounds – how quickly the shutter opens and closes. The slower it moves the more light is let in. My Canon camera has a light meter, which I align to sit at the centre or slightly to the left or right of this depending on the style of image I am after. As a rule, I find if you go below 1/50 my images start to be out of focus (I think you would need a tripod to avoid this).
Emma: Sarah has basically covered photography 101 here – amateur my behind. Learning how to work with ISO, aperture and shutter speed is crucial to developing as a photographer. I think aperture is the easiest thing to play with when you start out: set everything else to auto, and just adjust aperture according to light (this is called “aperture priority mode”). But eventually, the penny will drop as to how together these three features form a golden triangle of sorts. I recommend reading as much on this subject as possible until you understand the mechanics – some reportage of this sort can be dry but it is enormously helpful to have fundamental knowledge. It can feel stodgy shooting with so much focus on your hardware at first, but once you get to know your camera, you unlock almost boundless creative potential. Shooting film on an analogue camera with an internal light meter is a great way to learn more about the relationship between ISO, aperture and shutter speed and I absolutely recommend it if you want to get better at using your digital camera.
In terms of what settings I generally use, that’s tough; it is so dependent. When I first started taking photos I got obsessed with dropping my exposure compensation down to create moodier images, which I eventually realised was affecting the richness and quality of my finished images. Now, I am usually trying to capture a scene one stop above its “real” light appearance. This allows a bit more elbow room in post-production light-wise (higher exposure = more data to work with). As a rough guide; I’ll usually be operating on a sunny day at around 200 – 400 ISO, with an aperture of f/5.6 (higher in midday sun) and a shutter speed of 1/2000 or 1/1000. For early mornings and golden afternoons, I’m generally closer to f/2.8 and 1/250. I don’t change my ISO much, unless I’m shooting indoors or at night.
Aperture and shutter speed are also important if you are trying to achieve a particular aesthetic in your images. A lot of photography you see might always utilise a shallow depth of field, for example, but there is also a cult-like following for the f/5.6 aperture aesthetic. I particularly enjoy this for street photography, to create busier and more detailed images. Once you’ve got that down, it is also fun to start playing with manually setting your white balance to create different colour casts.
Just as important as your settings are your environmental factors. Learning how to work with light will help level-up your images; play around at different times of day, with different subjects, using different settings and take note of your results.
THE EDITING
Sarah: I edit my images using Lightroom, which is part of the Adobe suite. I do believe if you capture a great image, it shouldn’t need too much work! I like to keep things as raw as possible. I usually adjust the light and sharpness of an image, just to make it ‘pop’.
Emma: I use both Lightroom Classic and Photoshop to edit my images, but being self-taught (and a total hack) I don’t have a huge amount of editing prowess. I do find this limiting at times. I like images to be true and honest, but as you start to develop your own aesthetic in your photos you’ll want to explore the many foreign extremities of your editing software. In my images, I want to achieve bright, warm, natural tones, with a flat curve: low shadows, highlights, and contrast. Sometimes I’ll heat up the contrast on particular images, but usually not. A bit of sharpening, a bit of colour correction, and a bit of lens correction is also common for me. All that said, at the end of the day, focusing on things like colour and composition before shooting is the best way to get a good result.
On that note, I think this little wrap-up actually lacks a category to state the most important ingredient in the photography recipe, which in my view is that of imagination. That doesn’t mean you have to be the long-lost prodigal relation of Walt Disney to make good photos; it’s about being light-hearted and spontaneous, about looking at things differently, about letting go of all preconceived notions. The best photos come from walking out the door with genuine curiosity, a bit of self-reflection and varying intention. One day it might be ‘today I will capture things that are red’ and the next it might be ‘I want to represent familial tension through photographing twisting tree trunks’. Both would be worthwhile exercises that will grow your skills and thinking into interesting images.
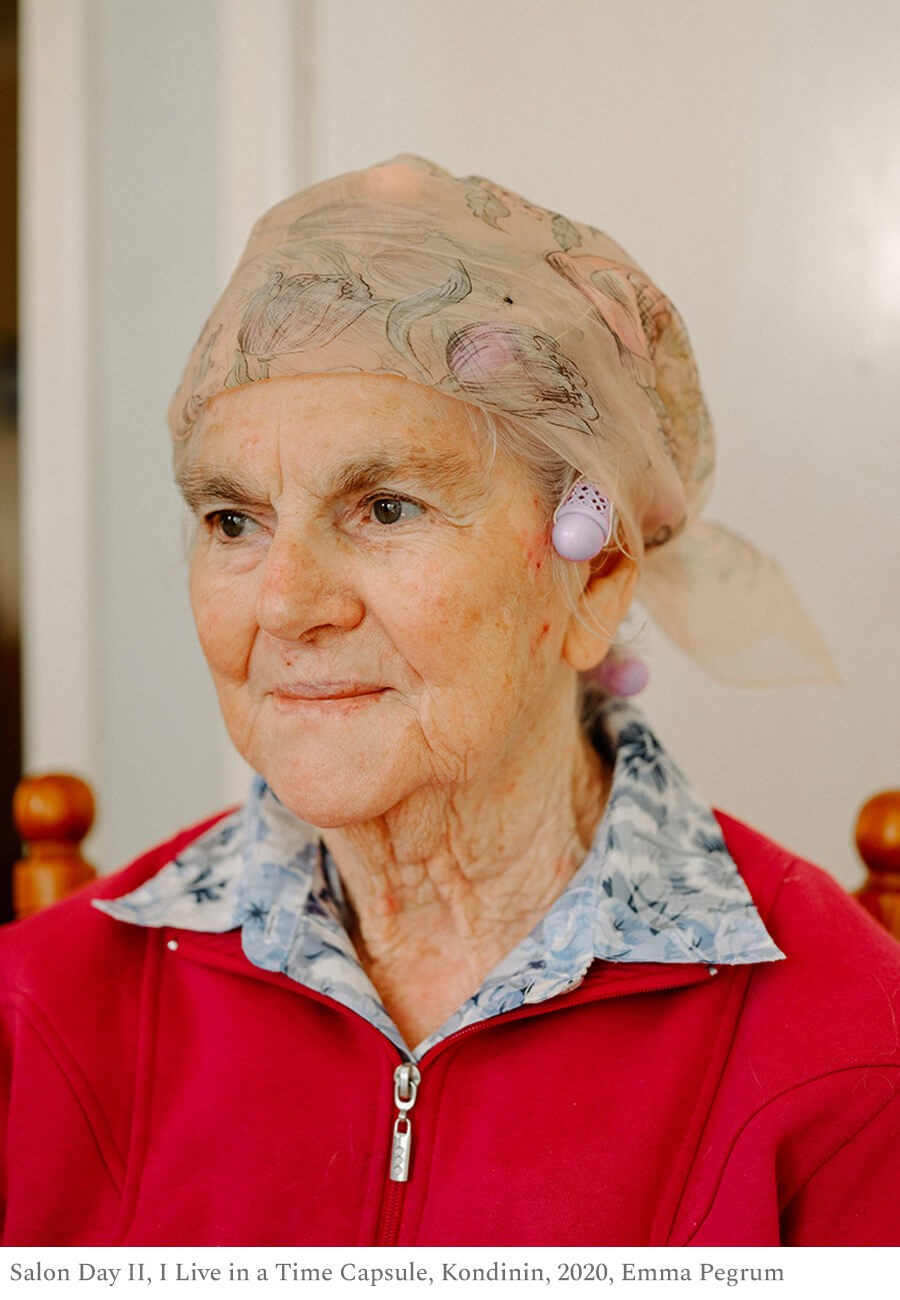
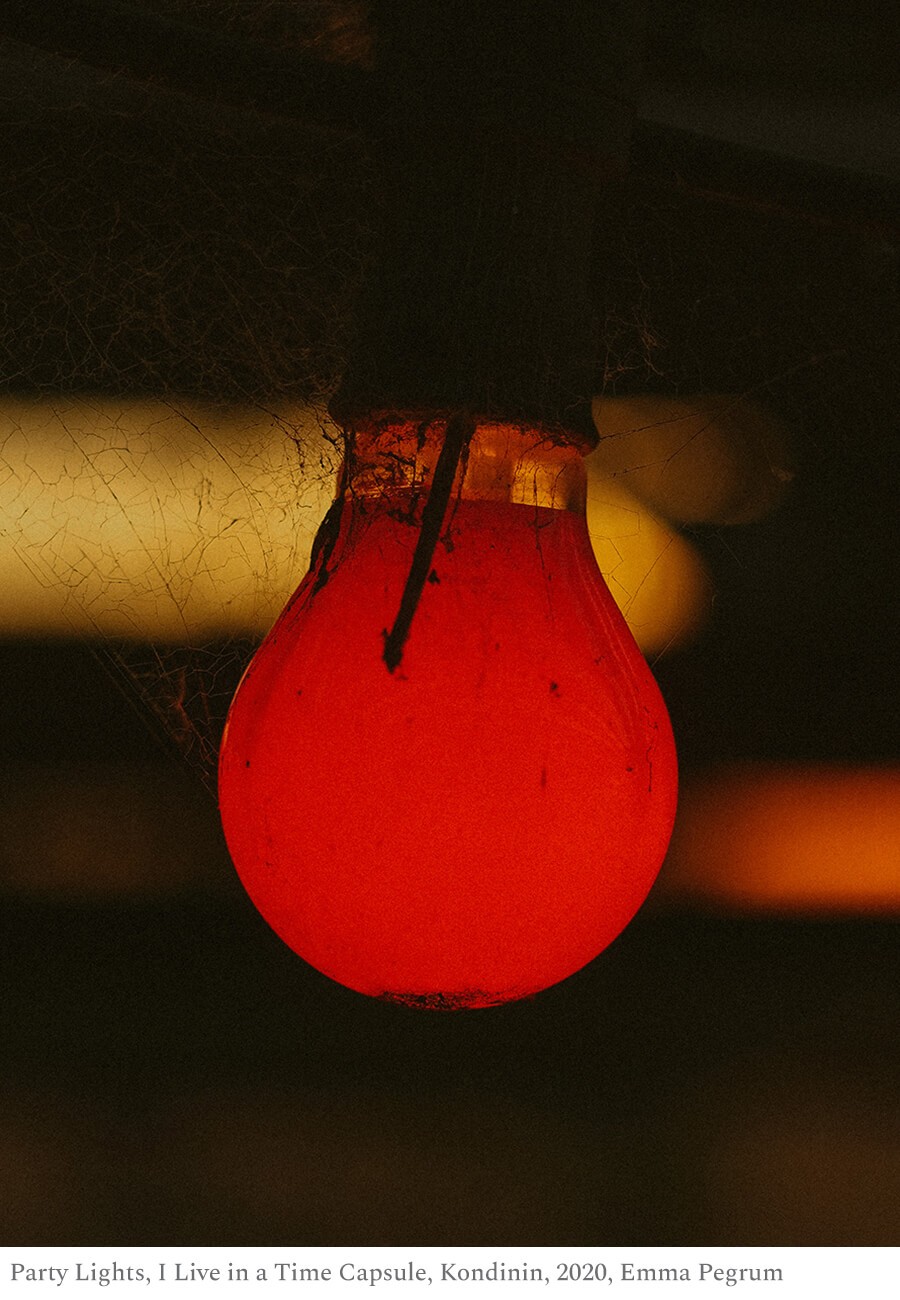
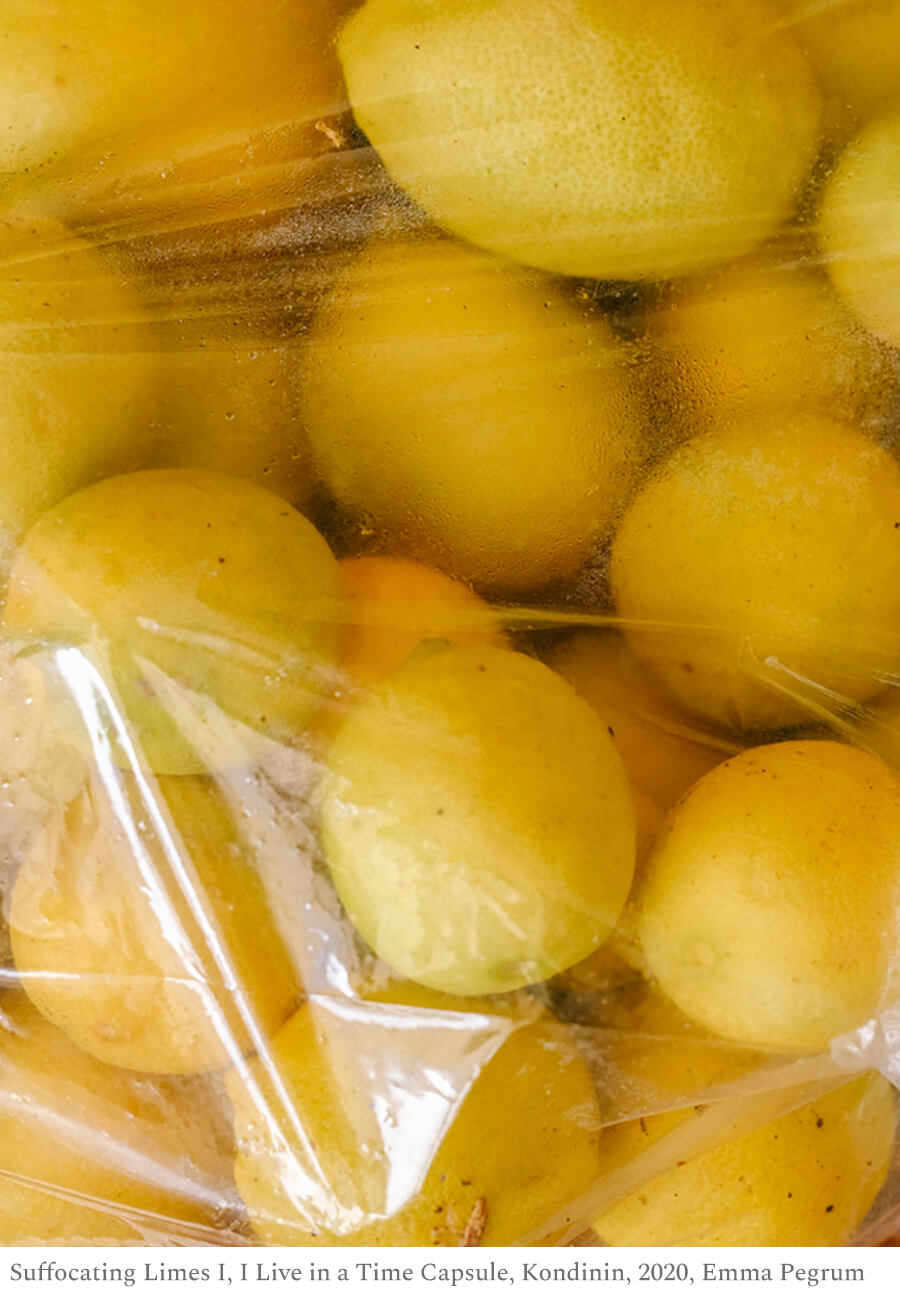
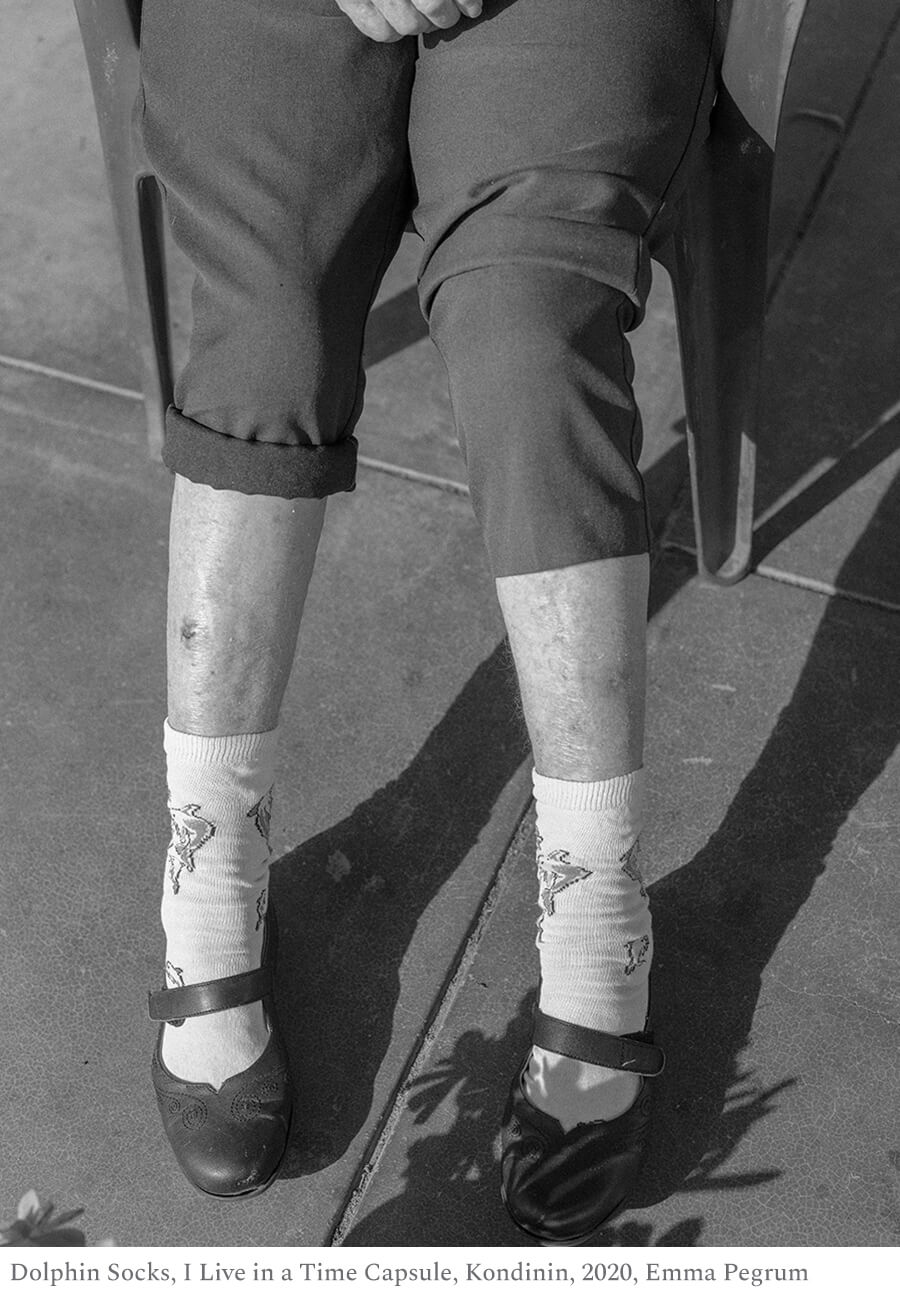
Emma’s work featured in this journal is from her current and ongoing series I Live in a Time Capsule. View more of her work here.
Cover images:
1. Bathe,Platja de Sant Pol, Sant Feliu de Guixols,-Spain,-2019, Emma-Pegrum (horizontal)
2. Market Stall, Girona, 2019, Sarah Langley (portrait)
Word: Sarah Langley & Emma Pegrum
Imagery: Sarah Langley & Emma Pegrum
- Share:


Other Posts you may like
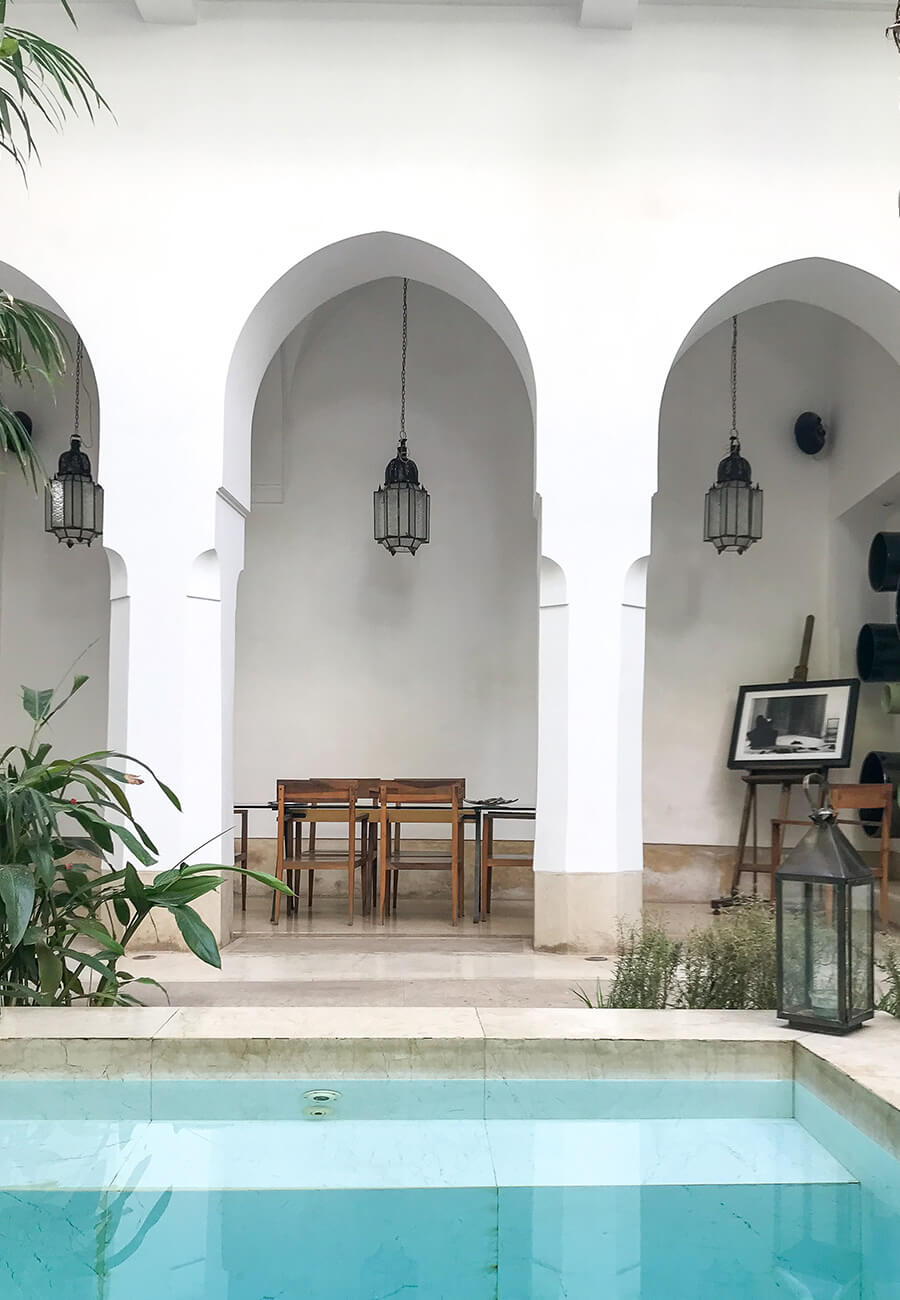
Who knew that Morocco is just a few centimetres from Barcelona? Not me, that is until I was planning my trip through Spain and looking at a map. So, on an impulse, we were diverting a week of our jaunt through Spain to a sojourn in Marrakech. With no time to research, as we were […]
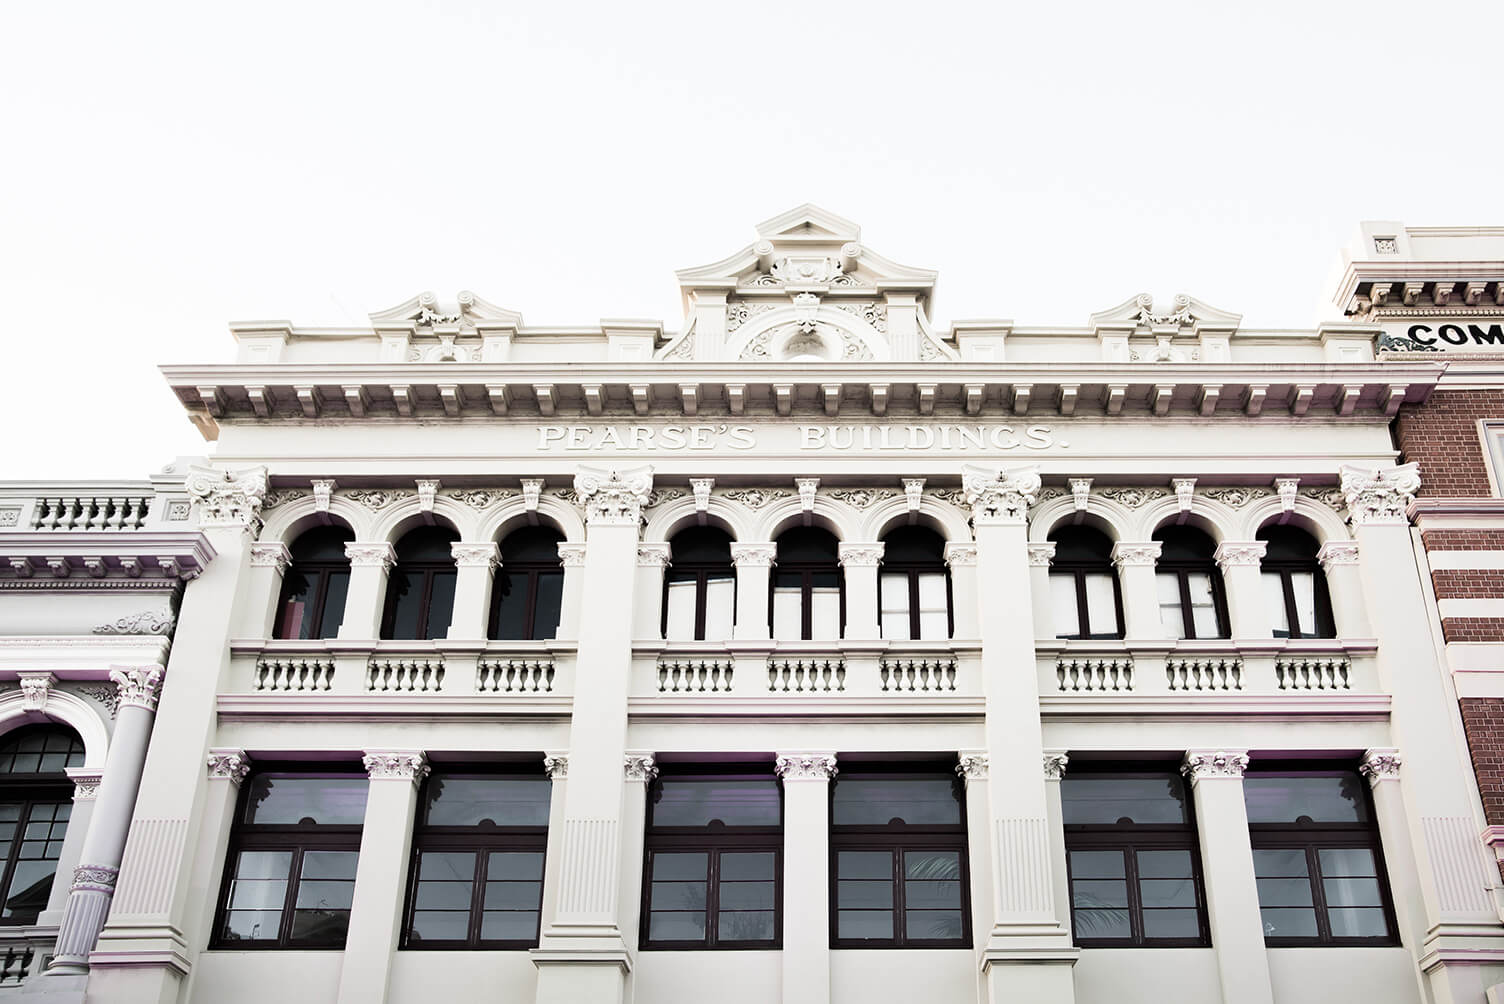
It is no secret that we are partial to Fremantle and spend quite a bit of time lurking about a select few places. So, if you are planning to head down our way to check out some ‘Open House Perth’ action, maybe spend the day and we’ll help you make it a cultural and action […]